Showing posts with label Hibiscus. Show all posts

The Cake and Craft Show


Greetings!

I'm writing as I pull back into port (albeit briefly), in between adventuring around New Zealand in my exciting new collaboration with The Cake and Craft Show.

Formally Dunkly's Craft Show, it was sold last year and re-branded, and is back - bigger, brighter and better than ever - with CAKE!

(Did I mention there's cake?!)

I'm not much of a baker. Though I've dutifully decorated my children's birthday cakes for the past ten years, even being talked into throwing icing at a wedding cake a few years back, if only I knew then what I know now!

I wouldn't say I've been stalking the Go Bake stand. Just conveniently located in very close proximity. On multiple occasions.

Plausible enough?

As well as the cake competitions which hold entries you'll want to leave your day jobs for to try and recreate, there are conveniently timed free cake workshops throughout the day, for the three days the show is on. It's like a long weekend in craft and cake utopia.

Ambling the aisles, you'll find a sublime selection of New Zealand wares that will make parting with your pocket money too easy. I'm speaking from experience.

This weekend in Christchurch there are also a plethora of craft workshops for the offering. From learning how to cover a lampshade, to T-shirt stencilling and screen printing, so why not grab yourself a three day pass and immerse yourself.


Then, there is me.

I've had my workshop kit permanently packed for the past six weeks as I've toured with the show, teaching in Auckland, Tauranga and Whangarei. Fortunately for those reading from the Mainland, I am teaching workshops at the Christchurch event this week: Friday 14th August - Sunday 16th August.

It has been incredibly inspiring meeting so many people with the same outrageous view that adhering fabric to, just about anything, is an inanely ordinary thing to do.

I've created four different workshops ranging from my signature decoupaged furniture to simplistically delightful wooden spoons, so there really is something for every being.

They are turn up, learn, leave with finished piece type workshops (apart from the furniture one, for that I need you to bring your op-shop bargain/can't throw out but not my style family heirloom furniture pieces to makeover!)

It's all about spreading the fabric decoupage word and a GREAT opportunity to come along and take advantage of my years of experience.

We'll have the country covered in fabric from Mt Herbert to Mt Wellington in no time!

See you there x


Addington Events Centre
Twigger Street
Addington


Friday 14th August - Sunday 16th August.

10am - 5pm


You can discover more of Kirstee and her upcycling ethos on Facebook, and also shop the Hibiscus range on Felt. 

HIBISCUS - Tassel Garland Necklace

Tassels, surely the new black. They've somehow morphed forward from the humble curtain tie back, to being a trend sensation, seen on the end of phones, in garland form on walls, cushion covers and bed spreads... So I figured - a tassel garland necklace - why not?


Supplies: 
  • Embroidery thread in chosen colours (one hank of thread will make approximately four tassels).
  • Scissors.
  • Fork.
  • Pliers.
  • Jump Rings. 
  • Necklace
(I purchased my necklace and jump rings from my local bead shop, but using an existing necklace you might own, and purchasing the match jump rings is also a fab idea). 

To make:

1. Using your fork, wrap the embroidery thread around it about thirty times. You could wrap more for a fuller looking tassel, but I found thirty was pretty optimum for what I was after. 


2. Once the excess thread is cut off, use the same colour thread to tie around the top two fork prongs. Tie this really tight!

3. Pull the tassel off the fork and cut right along the bottom. Tidy up all loose thread and tah dah - one mini tassel! 


4. Repeat until you have the required amount of tassel's that you are wanting to place on your necklace. 


5. Lay your necklace out and choose your tassel spacings. I started at the mid point (opposite the closure mechanism), and went from there. 

6. Secure you tassels to your necklace with your jump rings. 


BOOM! One very fine, individual piece that is sure to have everybody talking...


You can discover more of Kirstee and her upcycling ethos on Facebook, and also shop the Hibiscus range on Felt. 

HIBISCUS - Mason Jar Experience Advent Calendar

Today, allow me, to allow you, to take a step back from the Christmas commercialism. The bombardment of flyers in letter boxes, the advertisements screaming down our televisions and radios, and excitedly presented wish lists from our children, nieces, nephews, grandchildren and various small friends. 

Today, take a walk with me. And make it your moment, to just breathe. 

Christmas is an enchanted time, not only for our children, but also for us, the magnificent parental providers of said magic. 

Every year, since my first born love was ejected into this world, I have vowed to not get sucked in by the all so blaring consumerism that is Christmas in the Twenty First Century. I've on many occasions failed. 

There WILL be deliciously wrapped presents under our upcycled driftwood tree, the obligatory photo attempted with a sizable man in a red suit attempting to impersonate the ever mythical St. Nicholas, traditional letters written (if not only for the memory box) and carrots gifted for reindeer on long sleigh rides. 

But this year, instead of trinket or store bought chocolate advent calendars, I choose to give my children time. 

A mason jar. Some card stock. Some washi tape. And smiles sided with memories to last a lifetime...

Today I share with you my 2014 take on the traditional advent calendar. It lacks chocolate and small gifts, but bangs with a WHOLE lot of love. 

I came across the idea while stalking Pinterest, merging a few ideas together to create my very own DIY jar full of Christmas love for my own precious small people. 

I have a cupboard full of large mason jars burgeoning out of my kitchen depths looking for purpose at any stage of a given year, which is what I chose to house my finished product. other ideas floating around in my imaginative head space were to pop the cards in pockets or drawers of ready made calendars, hanging them number side out on a wire coat hanger or pegging them off a rope Christmas tree on the wall. 


You will need:
Card stock
A printer
Washi tape
Your chosen presentation vessel (In this case, a mason jar). 

You can find the free printable on Hip Homeschool Moms. Big thanks to Hip Homeschool Mom's for creating and sharing it on the interwebs for us all to enjoy!

Print your cards as per the instructions.
Cut, fold and washi tape seal your cards
Present them as you wish. 


I decided to fabric decoupage the jar seal with a festive spot then screw the lid on, too easy!


I will now admit to writing all the daily activities in a calendar hidden far from small eyes, so I can be organised as to what I will need on any given day. Some of the activities require some planning, such as decorating a gingerbread house or creating Christmas ornaments. 

There are some pearlers in there, I am totally looking forward to watching my children's faces light up each morning upon opening of their daily advent card, discovering what Christmas activity we can enjoy today.

Happy memory making, and while I am at it, have a jolly, jolly Christmas x


You can discover more of Kirstee and her upcycling ethos on Facebook, and also shop the Hibiscus range on Felt

HIBISCUS - Washi Tape

Washi tape and mason jars are one of those pairing that fall into the same category as blue cheese and pears, new potatoes and mint. 

They just work. 

So today I bring you my take on pantry storage, using recycled bottles, jars and a few rolls of tape.

Those that know me, know I shun consumerism. They also know I value our world, and in particular, recognise that the waste we create needs to be radically minimalised, for us to go forth and inhabit our vast and magical Earth space.


That, and I can't afford Tuppaware. 

Our pantry has been given a mighty overhaul of late whilst coming to grips with a sick child (gluten intolerance), and a growing awareness of what is actually in our food. 

I've gone all Mama Bear protective, immersing myself in knowledge and resources, and ultimately, along the way - overhauling all of our diets. 

My pantry was screaming out for some organisation and I needed a clear way of differentiating the gluten containing foods, to the ones that were safe for my daughter to eat.

I have been collecting glass bottles and jars for eons, mostly for my Summer preserves, and since we have made our way through the majority of them over winter, my glass shelf was overflowing to the point of inundation. 


Enter washi tape. 

Together, they make a great storage option. It's temporary enough for me to change some contents with every shop, and clear enough that lunch box making is a breeze for Sailor, and I now feel comfortable leaving her to it. Except this morning when she tried to sneak in uncooked pasta...

I particularly like my Barker's bottles (we may have a slight fascination with their refined sugar free fruit syrup), and the fact that they are tall over wide, and allow me to fit more in my weeny space. 

The before and after photos say it all! 


As I write this - a courier parcel has just arrived a the door - wrapped in recycled plastic packaging from a purchased sheet set (you know, the really sturdy stuff). Now THAT'S what I'm talking about world! Recycling at it's finest.

I have to admit to being really happy with my new pantry, as is my Chef Husband - phew! It's a total environment/Mama happy win. 

Happy Sunshine x Kirstee

You can discover more of Kirstee and her upcycling ethos on Facebook, and also shop the Hibiscus range on Felt

Wake up and smell that coffee

It's Spring! The blossom has started to fill our worlds with the sweet scent of sunshine, colour is emerging en mass in the form of yellow bulbs pushing up through the ground post winter hiatus, and the jandals are tentatively inching their way from the back of the wardrobe towards the front door. 

I actually (willingly) wore a tee shirt yesterday whilst planting the first of my Spring seedlings, an uplifting sign that the sizeable, blazing ball in the sky is slowly sending more warming rays our way, and that the haze of scarves and boots will soon be behind us. 

Back to the coffee.

It's not a drink that I indulge in myself, though I do adore the smell wafting through the house, especially when it's accompanied by the equally divine scents of bread baking in the oven. It's Sunday all over. And I love Sundays.

Luckily for me though, my husband does drink coffee, so fresh grounds are never further than my kitchen. 

I've decided this week to pull my winter skin out of hibernation, in readiness to face the world in a pair of much anticipated shorts. Wish me luck!

Today, I share with you a very simple, superbly delicious recipe for an Organic Coffee Face and Body Scrub.


Photo credits: Malia Cardwell (of MumMa fame)

You will need -
Used Coffee Grounds (I used organic, only as it is what I have available at home, please substitute for your own grounds, whatever they may be!)
Virgin Coconut Oil (Again, I used organic, I have a giant 2 litre tub which affords me the luxury of beautiful recipes like this)
  1. I mix them at a ratio of two parts coffee ground to one part coconut oil.
  2. Pop in a jar and store out of direct sunlight.
  3. Use as you would a body or face scrub in the bath or shower. Benefits of using in the bath are an incredibly rich water after the coconut oil has nourished it.

Both coffee and coconut oil have amazing benefits for the skin, but if you need proof, try this little number, I promise you there will be not an ounce of disappointment...


Happy Sunshine x Kirstee

You can discover more of Kirstee and her upcycling ethos on Facebook, and also shop the Hibiscus range on Felt

HIBISCUS - Rock and Roll

Indulge me for a minute... I was six years old and Bob Dylan was blaring from the state of the art sophistication, that was our family stereo.

Mesmerised by the repetitious tuning of the table, I had no idea that the vinyl disc spinning before me was to be fairly short lived in our ever technology moving society. And that there would be millions of them waiting patiently in boxes destined for charity shops, and unfortunately, also for landfill, in twenty years time...

My dad had a substantial LP collection. Even now, if he happens to come over when I have an vinyl creation on the go, he never fails to dissect every title, possible checking that I haven't raided his much loved collection, possibly hoping to add a few more to it.

LP's a readily available from most good charity shops. My local sells them for 50 cents a record, and I have been known to pick up the odd dozen freebee, when their stashes become too great.

What to look for in an LP? Non-ridged ones work for me. And preferably not visibly scratched if you want them to look aesthetically pleasing on the eye. Here are a few DIY projects in which I have used the mighty LP...


I had a LOT of gaps on the wall after our world rattled in Christchurch, some art broke, some I have yet to put back up, and some are lost in the depths of our storage garage. 

Quite frankly, I missed my beautiful children's faces smiling back at me, so I set about making some shake proof photo frames of my own.

Take that Mother Nature!

I decided upon LP records as my base for several reasons.

1) If they fall off the wall and break, 50 cents and some mod podge will get you a new one.
2) Re/up-cycling is my way of saving my planet.
3) We are a rock and roll kinda family. So they just fit.

They were remarkably simple to create. 

I just cut some photos the same shape as the LP sticker in the centre (I used black and white photos to keep with my rock and roll theme), coat the back of the photo with a thin layer of Mod Podge, stick to the LP, let dry, and pop a few coats over the top of the entire record.

Easy!

To adhere, I used the very technical process of slapping some Blu Tak dots on the back, and pressing them hard against the wall. 

I think the beauty of these baby's comes when you group them together on your wall. They are fab for a large bare spaces which need maximum impact!


My son is a rock star.

So, last year, we borrowed his awesomeness and themed his 2nd Birthday party around, well, him!

I used the smaller 45" LP's for the invitation backing, solely due to the fact that they were postable.

Now, I promise you, I am no whiz on the computer. But somehow, after several failed attempts, I managed to create a printable which had all the party details amongst it, and also which fit perfectly over the middle LP sticker. I used a light  and slightly textured card stock, paper would work equally well.


Again, I used Mod Podge to secure, though I didn't see any need to coat over the whole shebang, as durability wasn't an issue.

Coupled with a Rocking birthday cake and a bunch of two year olds with musical instruments, his festivities were a swinging success...


Kid's love their name in lights don't they!

I decided, around the same time of the Rock Star Birthday, to make a name sign for Kai's door, which we used on the wall for his party too.

Which is why I chose musical themed paper...

I purchased a couple of MDF unpainted wooden letters, these are readily available from good craft stores, as well as  the big chain stores such as Lincraft and Spotlight.

With a quick paint (of the letters), Podge (of the sheet music paper to a 45" LP) and PVA (of the painted letters to the  decorated LP's), it was all done!

As with the photo art, I simply used Blu Tack to secure them to his door.
Pretty snazzy if I do say so myself!
By now, would it be fair of me to say, that you all think I have a garage full of hoarded LP's? I don't. At least I don't think I do. 

I've been unable to access that particular room for sometime now, due to the million boxes of hoarded fabric that align the entrance. But I do have more LP DIY ideas. This, is only part one. Best you stay tuned (see what I did there?), for more on this symphonic adventure.

Until then, keep rocking. You know you want to!


Hibiscus - The Wedding


I do.

I did!

Seven years ago now, on a beach, on New Years Eve, at sunset.
Saawoon.

I remember fondly making my 'bouquet' with my husband's uber creative aunty, who also made our daughter's and bridesmaids flower ensembles. I say ensemble, as I chose a fairly non traditional way to incorporate flowers into our mix – we wore arm bands of my favourite flower, the frangipani.

But I digress. Here are some fabulously simple DIY wedding ideas.

Something old, something new, something you could potentially borrow and blue? Well, you could tie that one in anywhere!


Vintage Doily Wrist Cuff


One of my personal favourite pieces of jewellery is my vintage doily cuff.
I wear it and it just makes. Me. Feel. Special.

I have a teeny few (read: I hoard) vintage doilies at home just waiting for special projects like this one. If you are buying one specifically for the job, then rummage your local second hand stores to find one that suits.


I chose a caramel coloured circle shape and a lighter coloured diamond star shape. Checking for fit is simple, just wrap the doily around your wrist to check it overlaps, and it might pay to check there are natural 'holes' in the crochet pattern for you to pop your buttons through.

The size of your buttons are determined by these slots also.

Before you sew your buttons on, try it a few times to ensure button placement and fit, you don't want it too loose, as it will slip around a tad.

I wear my circle cuff both with buttons showing, and buttons to the inside of my wrist. I must say, I am a little bit enamoured.


Decoupage Cufflink


Linking you as a couple, this is a great way to add your own story to your the Groom's wedding outfit.
Because let's face it, Groom's can often skip the hoo-ha of wedding day outfit fussing!

Blank cufflinks are available at stores such as Beadz Unlimited, or online via New Zealand websites such as Made By Me.

The bezel settings come ready to go, with the only tools you'll need being some trusty Mod Podge, and your photos or maps.

I made some using place names which my Husband and I had travelled to as a couple.
An equally beautiful idea if you have treasured ones who have passed on, is to use their photos so they will be close on your special day.
Alternatively, photos of yourselves or your children (if, like us, you bucked the idea of tradition and had children first!).


With a quick snip and mod podge into the setting, then another thicker modge coat on top (this acts as a glue for the cabochon to seal to the bezel setting), 24 hours drying time later – viola! A personalised keepsake of not only your magical day, but also one that is you, as a couple, to a t.

Conveniently, for those without Mod Podge on hand, there is also a 'screw and go' setting available which requires no gluing, though might not hold up so well in the rain!

Scrabble Nameplates

Let's face it. Scrabble tiles are incredibly in vogue. Why not incorporate them into your table setting, signing of the register table, or photographs?

Simply borrow, scour the op shops, or bust out your own Scrabble set, and go wild with it!
Here are some I have created in the past, retro vogue at it's finest...


Do enjoy! The creating that is, and while you're at it, have a magical wedding day too!


Hibiscus


Greetings! Firstly, I'd like to introduce myself. 

My name is Kirstee Griffiths, and my title to the outside world is often along lines of 'Upcycling Extraordinaire' or 'Creative Genius'. 

Truth be told, I am a stay at home Mama of ten years to two beautiful souls who graced us with their presence nine and three years ago. 

And I am a rebel. 

With a gargantuan cause.

I regularly don my Super Hero Save the Planet cape in my 'me' moments, and it's at these times that I can feed my creative soul and nurture our planet with the care and respect it so rightfully deserves. 

Call me a hippy (many do), but in today's forced commercialised society, I am the revolutionary who will never give up creating for her cause. 

(Insert wicked laughter here).

I have, if you like, a fairly hefty beef with society as a whole in the 21st century. Between the in your face advertising (it's everywhere isn't it?!) and commercialism dictating our growth toward 'throw away-ism', there often isn't much room for us, nor our children (you know, the ones who will be caring for our future planet), to just, breathe.

This, coupled by my insane attraction to fabric and the extraordinary magic it holds (coupled again with my non ability to form any kind of relationship with a sewing machine), led to my business, Hibiscus, to be born. 


Hibiscus encompasses my vision of the future, whilst utilising relics of the past, and created within my work shop walls are wondrous pieces filled with history and love, whilst revealing a new and improved modernism, which can fit in with the most eclectic or subdued decors.

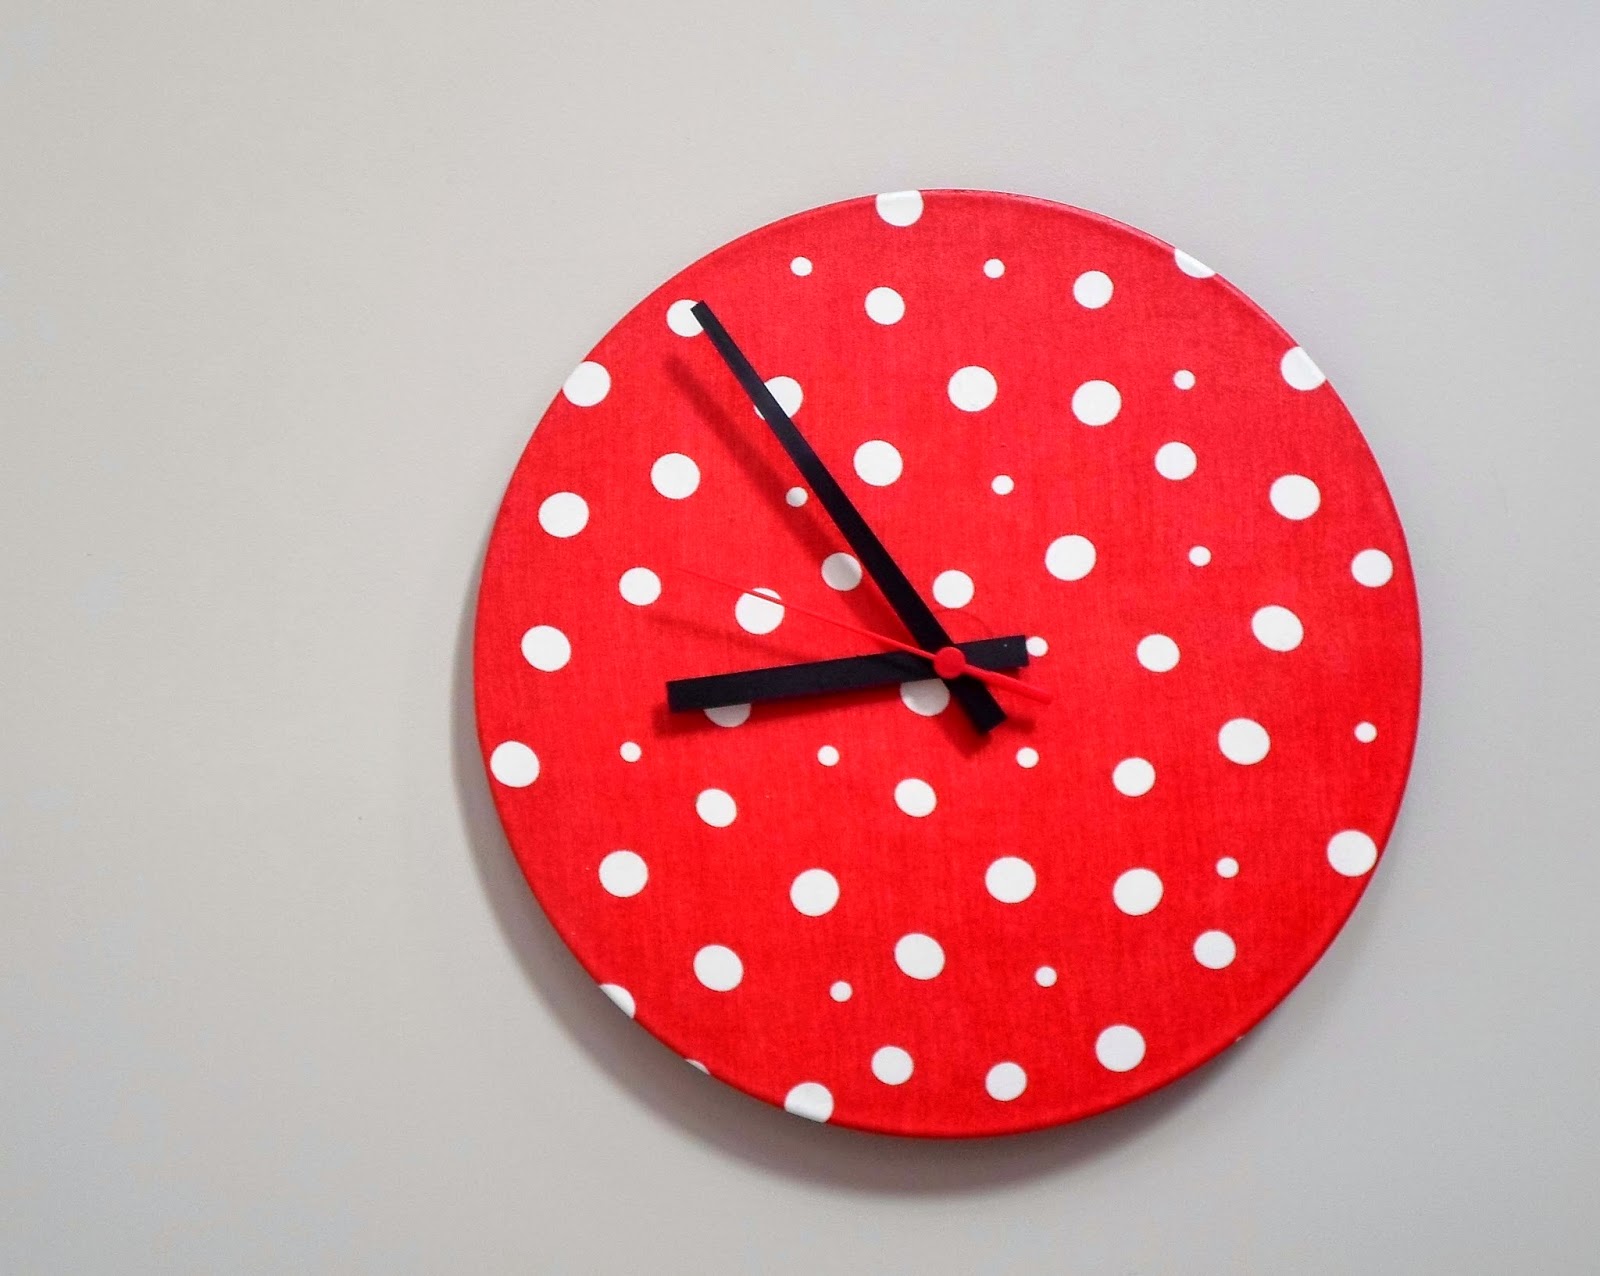
I use a lot of fabric decoupage on furniture, create real working bird houses out of vintage books and have recently turned my hand to the creation of stunning clocks using long ago listened to LP's as a base.

My dream 'date with myself' day would include foraging a plethora of second hand stores and fabric shops. 

My purchases almost always include beautiful items which I can re-love in some way, though, I do admit, most are made with no clear vision at the counter. 

I tend to collect beautiful things, from vintage doilies, door handles and furniture, to old pieces of wood and disused oars.


The unsolicited version? 
I hoard.

I bring my vast and varied treasures home with me and add them to my stores, until a later date, when the lightbulb switches on (more often than not at some nonsensical hour of the day/night, when my hands are full with caring for my sweet beings or slumber is nigh), and soon thereafter, a repurposed delight is created. 

I embarked on a hand made gift year in 2013. 

My silent protest to our commercial world, and an opportunity to really think (and get into highly organised mode!), about the gifts I was composing, and the special people in my life for whom they were for. 

Pinterest and I became firm friends over this period, and we continue to strengthen our relationship daily. 

I'm considering a marriage proposal. 

I have taught my up-cycle skills at amazing conferences, such as Handmade in Wellington, to four year olds at my son's kindy, and places in between.

I see knowledge as the utmost power, and spreading mine, sprinkled with my creative genius, equals food that nourishes souls...

So, in a nutshell, that is me. 

Dreamer. 

Believer. 

Creator. 

I am delighted to start sharing with you some of my DIY ideas here on the most fabulous Indie Design ON the planet, Hazel Loves Design.

If your ready, buckle in, we have a whole lot of planet to re-love...


Pay it Forward - Hibiscus


At Pay It Forward we are pleased to have a plethora of talented indie designer's calling the co-operative their own. Each month we aim to introduce to you a 'Designer of the month', for the month of April this designer is Kirstee of Hibiscus. So grab a coffee because it's time to get better acquainted...

What is the story behind 'Hibiscus'? The naming itself is a nod to my time overseas, spending glorious years nestled in a sub tropical paradise. Every morning, without much fail, I would pick a hibiscus flower for my hair on my way to work, so naming my business after my own sweet memories seem apt, given that this, my own little business, was created from dreams of past reminiscence, just by me.

How did the brand come to be? Hibiscus was dreamt in my imagination back in 2005, a year after I welcomed our first child into the world. It has taken on a number of different faces since, including a substantial break following the Christchurch earthquakes (where all my stock was stuck in our red stickered Mt Pleasant home, unable to be salvaged for a time). The Hibiscus which lies before you now was created after our second child was born, and after our world had stopped rocking, in 2013, and has taken on a life of it’s own during the last twelve months.

Your brand is synonymous with upcycling. What do you enjoy most about working with and restoring previously loved pieces? Without a doubt, it has to be the transformation from beast to beauty. I also get a huge sense of achievement knowing I have deliberately saved one more piece of unused furniture from the scrap heap and imminent landfill.

I like to think I’m saving the planet one piece of wood and vintage book at a time! My ‘get up and go’ stems from the immense pleasure I gain from sanding a piece of many times painted furniture, and seeing what beauty of forgotten wood might lay beneath.

I am often sprung posting pictures of before and after sanding adventures, it keeps the history part real for me, and I hope it enables my customers to appreciate the pieces in their real and true form.

I try to keep as much natural, bare wood, in some capacity, in as many pieces as possible, though do admit defeat in original wood too damaged to remain bare. This is when I haul out the fabric and turn it into something almost majestical...

Do you have any interesting stories about where you've discovered pieces that you've worked with? I spend a lot of time garage saling and op shopping! There have been amazing finds of disused Russian lifeboat oars and mid century side tables which have gone on to live again in the form of children’s play kitchen’s and tide clocks. I often wonder what these pieces have seen in their lifetime, and get a load of pleasure knowing I have given them life to see a whole lot more...

You are one of the founding Pay It Forward artisans, what have you enjoyed most about this creative journey? Most definitely the gathering together. Gathering of people who become one brain, resources which become the co-operative and running as a whole, and the friendships which ensue.

What are the advantages to being in a co-operative like this? The saying goes “Many hands make light work." In Pay It Forward’s case, many hands make for more than just light work, it also represents the gathering of a community of like minded, kindred crafting spirits working together for one common goal - bringing New Zealand the best of local, handcrafted amazingness!


I know you've collaborated with a couple of the other founding artisans - recently Crazybird with the cover of Hazed and at markets with Miss Mavis, what do you enjoy most about having the opportunity to work with other designers. Knowing there are others out there who have a ‘lightbulb project moment’ at some wildly un-human hour, which they must start immediately... and again, the pooling of resources and talents to show my best work to it’s full potential. This is highly evident at markets where I collaborate with Sam from Miss Mavis. Furniture is jolly hard to present on it’s own to make it look useable and homely, so the addition of a couple of stunning cushions will never go astray!

Your still relatively new to this 'scene', what hurdles have you found along your journey? With earthquakes, shifting house (and business) copious amounts of times aside, not a lot I'm pleased to say! I have been warmly welcomed into the world of indie design in Christchurch, with many dreams being realised very quickly in the forms of market acceptance’s, repeat clients, appearing in and on the cover of Hazed Magazine, and being a part of the Pay It Forward Co Operative. The above are just some of the opportunities I have jumped for, and landed the proverbial feather for Hibiscus’s cap.


And, where do you see your journey taking you in the future? I’m currently conquering the universe. I’ll let you know how that goes for me!

What is the best piece of creative advice you've ever been given? Be true to you. Hold the values within, high on the outside. I’ve also learned the same rule is true for my knickers when attempting to be an entrepreneur/stay at home Mama Super Hero.

What does the term 'Indie Design' mean to you? Individuality. Close to home locality. It’s a revolution. Get amongst it. I dare you!

So pop on it to Pay It Forward and discover more work by the fabulous Hibiscus, but not just that we also have tons of fabulous work by many other talented designers for you to discover!! 

45 Nancy Ave
Mairehau